
Overview
This article provides step-by-step instructions for replacing the batteries in the following Honeywell/Resideo PROSIX wireless sensors:
Table of Contents
- How to Replace the Battery in a PROSIXCT Door/Window Sensor
- How to Replace the Battery in a PROSIXPIR Motion Sensor
- How to Replace the Battery in a PROSIXGB Glassbreak Sensor
Before You Begin
Before replacing the battery in any of these sensors, please call Structured Progress at (718) 360-9191 so we can place your alarm system in Test Mode. This will help prevent unnecessary alarm signals from being sent while the battery is being replaced.
Where to Purchase the Battery
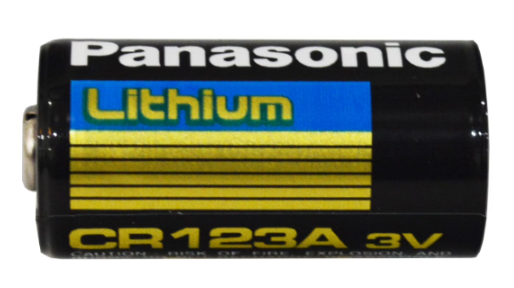
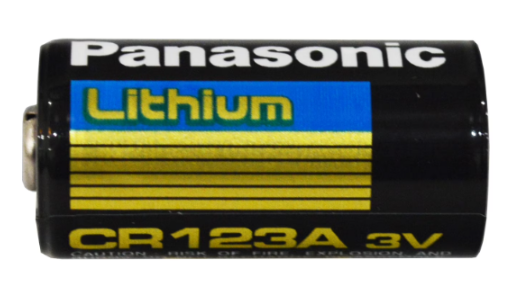
A CR123A 3V lithium battery is commonly available at:
- Hardware stores
- Home improvement stores
- Electronics retailers
- Online marketplaces such as Amazon
We recommend using a quality lithium battery from a reputable manufacturer.
1. How to Replace the Battery in a Honeywell/Resideo PROSIXCT Door/Window Sensor
Overview
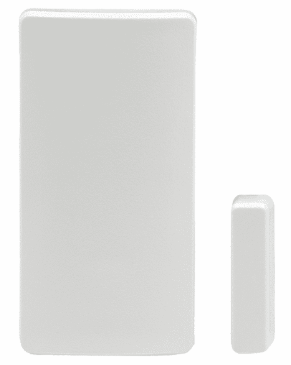
The PROSIXCT is a wireless door/window sensor that detects when a protected door or window is opened. It also monitors tampering and reports low battery conditions to your alarm system.
You'll Need
- One new CR123A 3V lithium battery
- Small flat-head screwdriver (if needed)
Step 1 – Locate the Sensor
The PROSIXCT sensor is mounted on a protected door or window frame and is installed next to a small magnet.
Step 2 – Remove the Cover
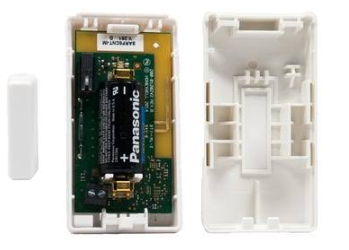
- Locate the release tab on the sensor.
- Carefully insert a small flat-head screwdriver into the slot.
- Gently twist the screwdriver to release the cover.
Step 3 – Remove the Old Battery
- Remove the old battery.
- Wait approximately 10 seconds.
Step 4 – Install the New Battery
- Insert the new CR123A 3V lithium battery.
- Match the (+) and (-) markings.
- Ensure the battery is fully seated.
Step 5 – Reinstall the Cover
Snap the cover back into place until it clicks securely.
Step 6 – Verify the Sensor
Allow several minutes for the sensor to reconnect to the alarm system.
Please let us know once you've completed the replacement so we can verify the sensor is communicating properly.
For reference, see the video below.
https://www.youtube.com/watch?v=IVZT1OTnJJc
2. How to Replace the Battery in a Honeywell/Resideo PROSIXPIR Motion Sensor
Overview
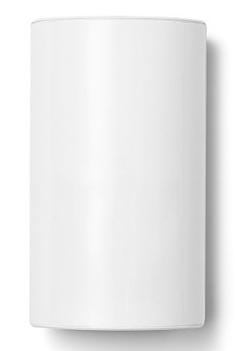
The PROSIXPIR is a wireless motion sensor that detects movement inside your home or business.
You'll Need
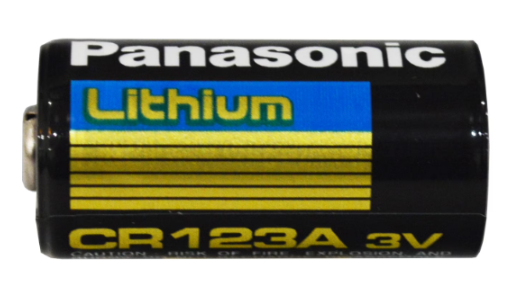
- One new CR123A 3V lithium battery
- Small flat-head screwdriver (if needed)
Step 1 – Locate the Motion Sensor
The motion sensor is typically installed:
- On a wall
- In a corner
- Approximately 7–8 feet above the floor
Step 2 – Remove the Cover
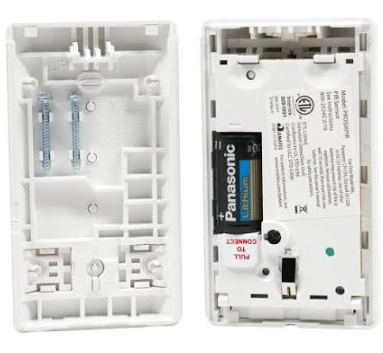
- Locate the release tab at the bottom of the sensor.
- Press the tab.
- Pull the front cover away from the back plate.
Step 3 – Remove the Old Battery
- Remove the old battery.
- Wait approximately 10 seconds.
Step 4 – Install the New Battery
- Insert the new CR123A 3V lithium battery.
- Verify the (+) and (-) polarity.
- Ensure the battery is seated properly.
Step 5 – Reinstall the Cover
Snap the cover securely back into place.
Step 6 – Verify the Sensor
Allow several minutes for the sensor to reconnect.
Please let us know once you've completed the replacement so we can verify proper communication.
For reference, see the video below.
https://www.youtube.com/watch?v=lAEGY3M8rVA
3. How to Replace the Battery in a Honeywell/Resideo PROSIXGB Glassbreak Sensor
Overview
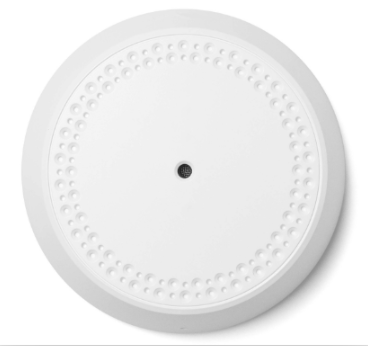
The PROSIXGB is a wireless glassbreak sensor that detects the sound frequency of breaking glass.
You'll Need
- One new CR123A 3V lithium battery
- Small flat-head screwdriver (if needed)
Step 1 – Locate the Glassbreak Sensor
The glassbreak sensor is typically mounted:
- On a wall
- On the ceiling
- Facing nearby windows or glass doors
Step 2 – Remove the Cover
- Locate the release tab.
- Press the tab.
- Carefully remove the front cover.
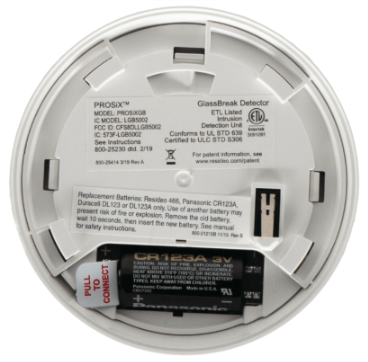
Step 3 – Remove the Old Battery
- Remove the old battery.
- Wait approximately 10 seconds.
Step 4 – Install the New Battery
- Insert the new CR123A 3V lithium battery.
- Verify the (+) and (-) markings.
- Ensure the battery is seated correctly.
Step 5 – Reinstall the Cover
Snap the cover back into place until it clicks securely.
Step 6 – Verify the Sensor
Allow several minutes for the sensor to reconnect.
Please let us know once you've completed the replacement so we can verify proper communication.
Troubleshooting
If the low battery message does not clear within 10–15 minutes:
- Verify that the battery is installed correctly.
- Confirm you're using a new CR123A 3V lithium battery.
- Make sure the sensor cover is fully closed.
- Wait a few additional minutes for the system to update.
- If the issue persists, contact Structured Progress at (718) 360-9191 for assistance.
For reference, see the video below.
https://www.youtube.com/watch?v=-9olAH3lZto
Need Assistance?
If you have any questions or need assistance replacing the battery, please contact:
Structured Progress Project Management Team
Phone: (718) 360-9191